As the digital world continues to evolve, the need for efficient multitasking has become more crucial than ever. If you’re a Mac user, you’re in luck because macOS offers a feature that can significantly enhance your productivity – Split Screen. It allows you to view and work with two applications side by side on your Mac, making it easier to manage multiple tasks simultaneously. In this article, we will walk you through how to split screen on Mac.
Whether you’re a student, a professional, or just a casual user, mastering this feature can help you streamline your workflow and make the most of your Mac’s capabilities.
Understanding Split Screen on Mac
Before we dive into the practical aspects of Split Screen, it’s essential to understand what it is and why you might want to use it.
What is Split Screen?
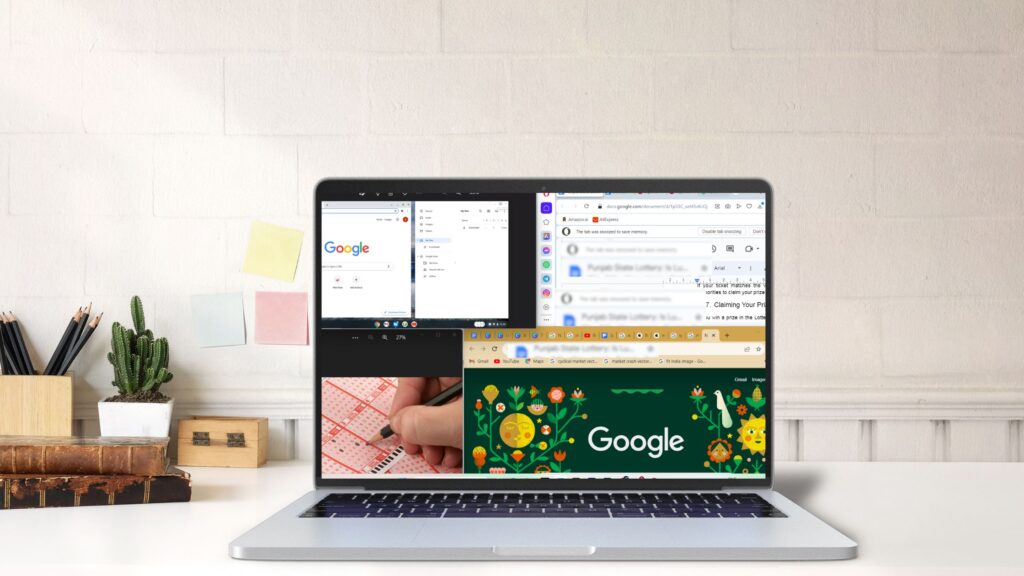
Split Screen is a macOS feature that allows you to divide your Mac’s screen into two separate sections, each displaying a different application or window.
This side-by-side view enables you to work with multiple apps simultaneously, which can boost your productivity and efficiency.

Why Use Split Screen?
There are several scenarios in which Split Screen can be incredibly useful.
- Research and Writing – If you’re writing a research paper or report, you can have your research materials open on one side of the screen while you compose your document on the other side.
- Email and Calendar Management – Keeping your email client and calendar open side by side can help you schedule appointments and respond to messages more efficiently.
- Coding and Debugging – Developers can benefit from Split Screen by having their code editor open alongside a web browser for reference.
- Design and Photo Editing – Graphic designers and photographers can compare and edit images or designs in real-time using Split Screen.
- Presentations – Preparing a presentation? You can have your presentation software open on one side while you gather content from other applications on the other side.
Now that you understand the benefits of Split Screen, let’s move on to enabling it.
Enabling Split Screen on Mac
Enabling Split Screen on your Mac is a straightforward process. Follow these steps to get started.
Step 1: Check Compatibility
Before proceeding, ensure that your Mac is running macOS El Capitan (version 10.11) or later.
Split Screen is available on most recent Mac models, but it’s always a good idea to check for system updates to ensure you have the latest features.
Step 2: Open Applications
Begin by opening the applications that you wish to use in Split Screen. You should have at least two apps open that you’d like to work with side by side.
Step 3: Enter Split Screen Mode
There are a few different ways to enter Split Screen mode.
1. Mission Control
- Swipe up on your trackpad with three or four fingers, or press the Mission Control key (usually F3 or Control + Up Arrow).
- Arrange the windows you want to use in Split Screen on the same desktop.
2. Full-Screen Button
- Click and hold the green, full-screen button (located in the upper-left corner of the window you want to use in Split Screen).
- Select either “Tile Window to Left of Screen” or “Tile Window to Right of Screen.”
3. Keyboard Shortcut
- Press the “Control” key on your keyboard.
- While holding “Control,” press the left or right arrow key.
Step 4: Adjust Split Screen Layout
Your screen will now display two applications side by side. You can drag the divider between them to adjust the amount of space each app occupies. This allows you to prioritize the application you’re currently working with.
Using Split Screen
Now that you’ve enabled Split Screen, let’s explore how to effectively use this feature.
Navigating Between Split Screen Apps
To switch between the two applications in Split Screen mode, simply click on the one you want to focus on.
Alternatively, you can use the “Control + Left Arrow” or “Control + Right Arrow” keyboard shortcuts to navigate between them.
Exiting Split Screen
When you’re done using Split Screen, you can exit this mode by clicking the green, full-screen button again.
Alternatively, press the “Control + Up Arrow” keyboard shortcut to return to your standard desktop view.
Using Mission Control
You can also use Mission Control (accessed by swiping up with three or four fingers on your trackpad or pressing the Mission Control key) to manage your Split Screen apps.
In Mission Control, you can see all your open applications and desktops, making it easy to rearrange or close them as needed.

Customizing Split Screen
macOS allows for some customization of the Split Screen feature to suit your preferences.
Changing Split Screen Apps
If you want to change one of the apps in Split Screen mode, follow these steps:
- Exit Split Screen by clicking the green, full-screen button or using the keyboard shortcut.
- Open the new app you want to use.
- Enter Split Screen mode again, choosing the desired arrangement.
Customizing Split Screen Settings
To access additional Split Screen settings and preferences, follow these steps:
- Click the “Apple” logo which you can find on the top-left corner of your screen.
- Select “System Preferences.”
- Choose “Mission Control.”
- Here, you can customize how Split Screen works, including keyboard shortcuts and display options.
Troubleshooting Split Screen Issues
While Split Screen is a useful feature, you may encounter some occasional issues. Here are some of the common problems and their solutions.
Issue 1: Split Screen Not Working
If Split Screen isn’t working as expected, try the following:
- Ensure you have at least two apps open.
- Check that both apps are compatible with Split Screen.
- Restart your Mac.
Issue 2: App Doesn’t Support Split Screen
Not all apps support Split Screen. If you can’t use Split Screen with a specific app, it may not be compatible.
Issue 3: Split Screen Becomes Unresponsive
If Split Screen becomes unresponsive, try exiting the Screen and re-entering it. If the problem still persists, you must consider restarting your Mac.
Issue 4: App Icons Disappear
In Split Screen, the app icons may disappear from the menu bar. To access the app’s menu, simply move your cursor to the top of the screen, and the menu bar will appear.
Wrapping Up
The split screen feature on Mac is a powerful tool for enhancing productivity and multitasking. By following the steps outlined in this guide, you can enable, use, and customize Split Screen to better suit your workflow.
Whether you’re a student juggling research and writing, a professional managing email and calendars, or anyone seeking to optimize their computer usage, Split Screen can help you achieve more in less time. So, start splitting your screen and unlock the full potential of your Apple devices today.