Changing the country or region on your iPhone is a straightforward process, involving a few key steps to ensure a smooth transition. If you are also unable to change country on your phone then we are here to help you out. In this article, we are going to discuss some steps on how to change country in iPhone
Your device’s country or region setting is important for various purposes, such as accessing localized content on the App Store and iTunes, receiving region-specific updates, and more.
Change region on iPhone through Settings
1. Accessing Settings:
Start by unlocking your iPhone and navigating to the home screen. Locate the “Settings” app – usually identified by a gear icon – and tap to open it. The Settings app is a central hub for configuring various aspects of your device.
2. Apple ID Section:
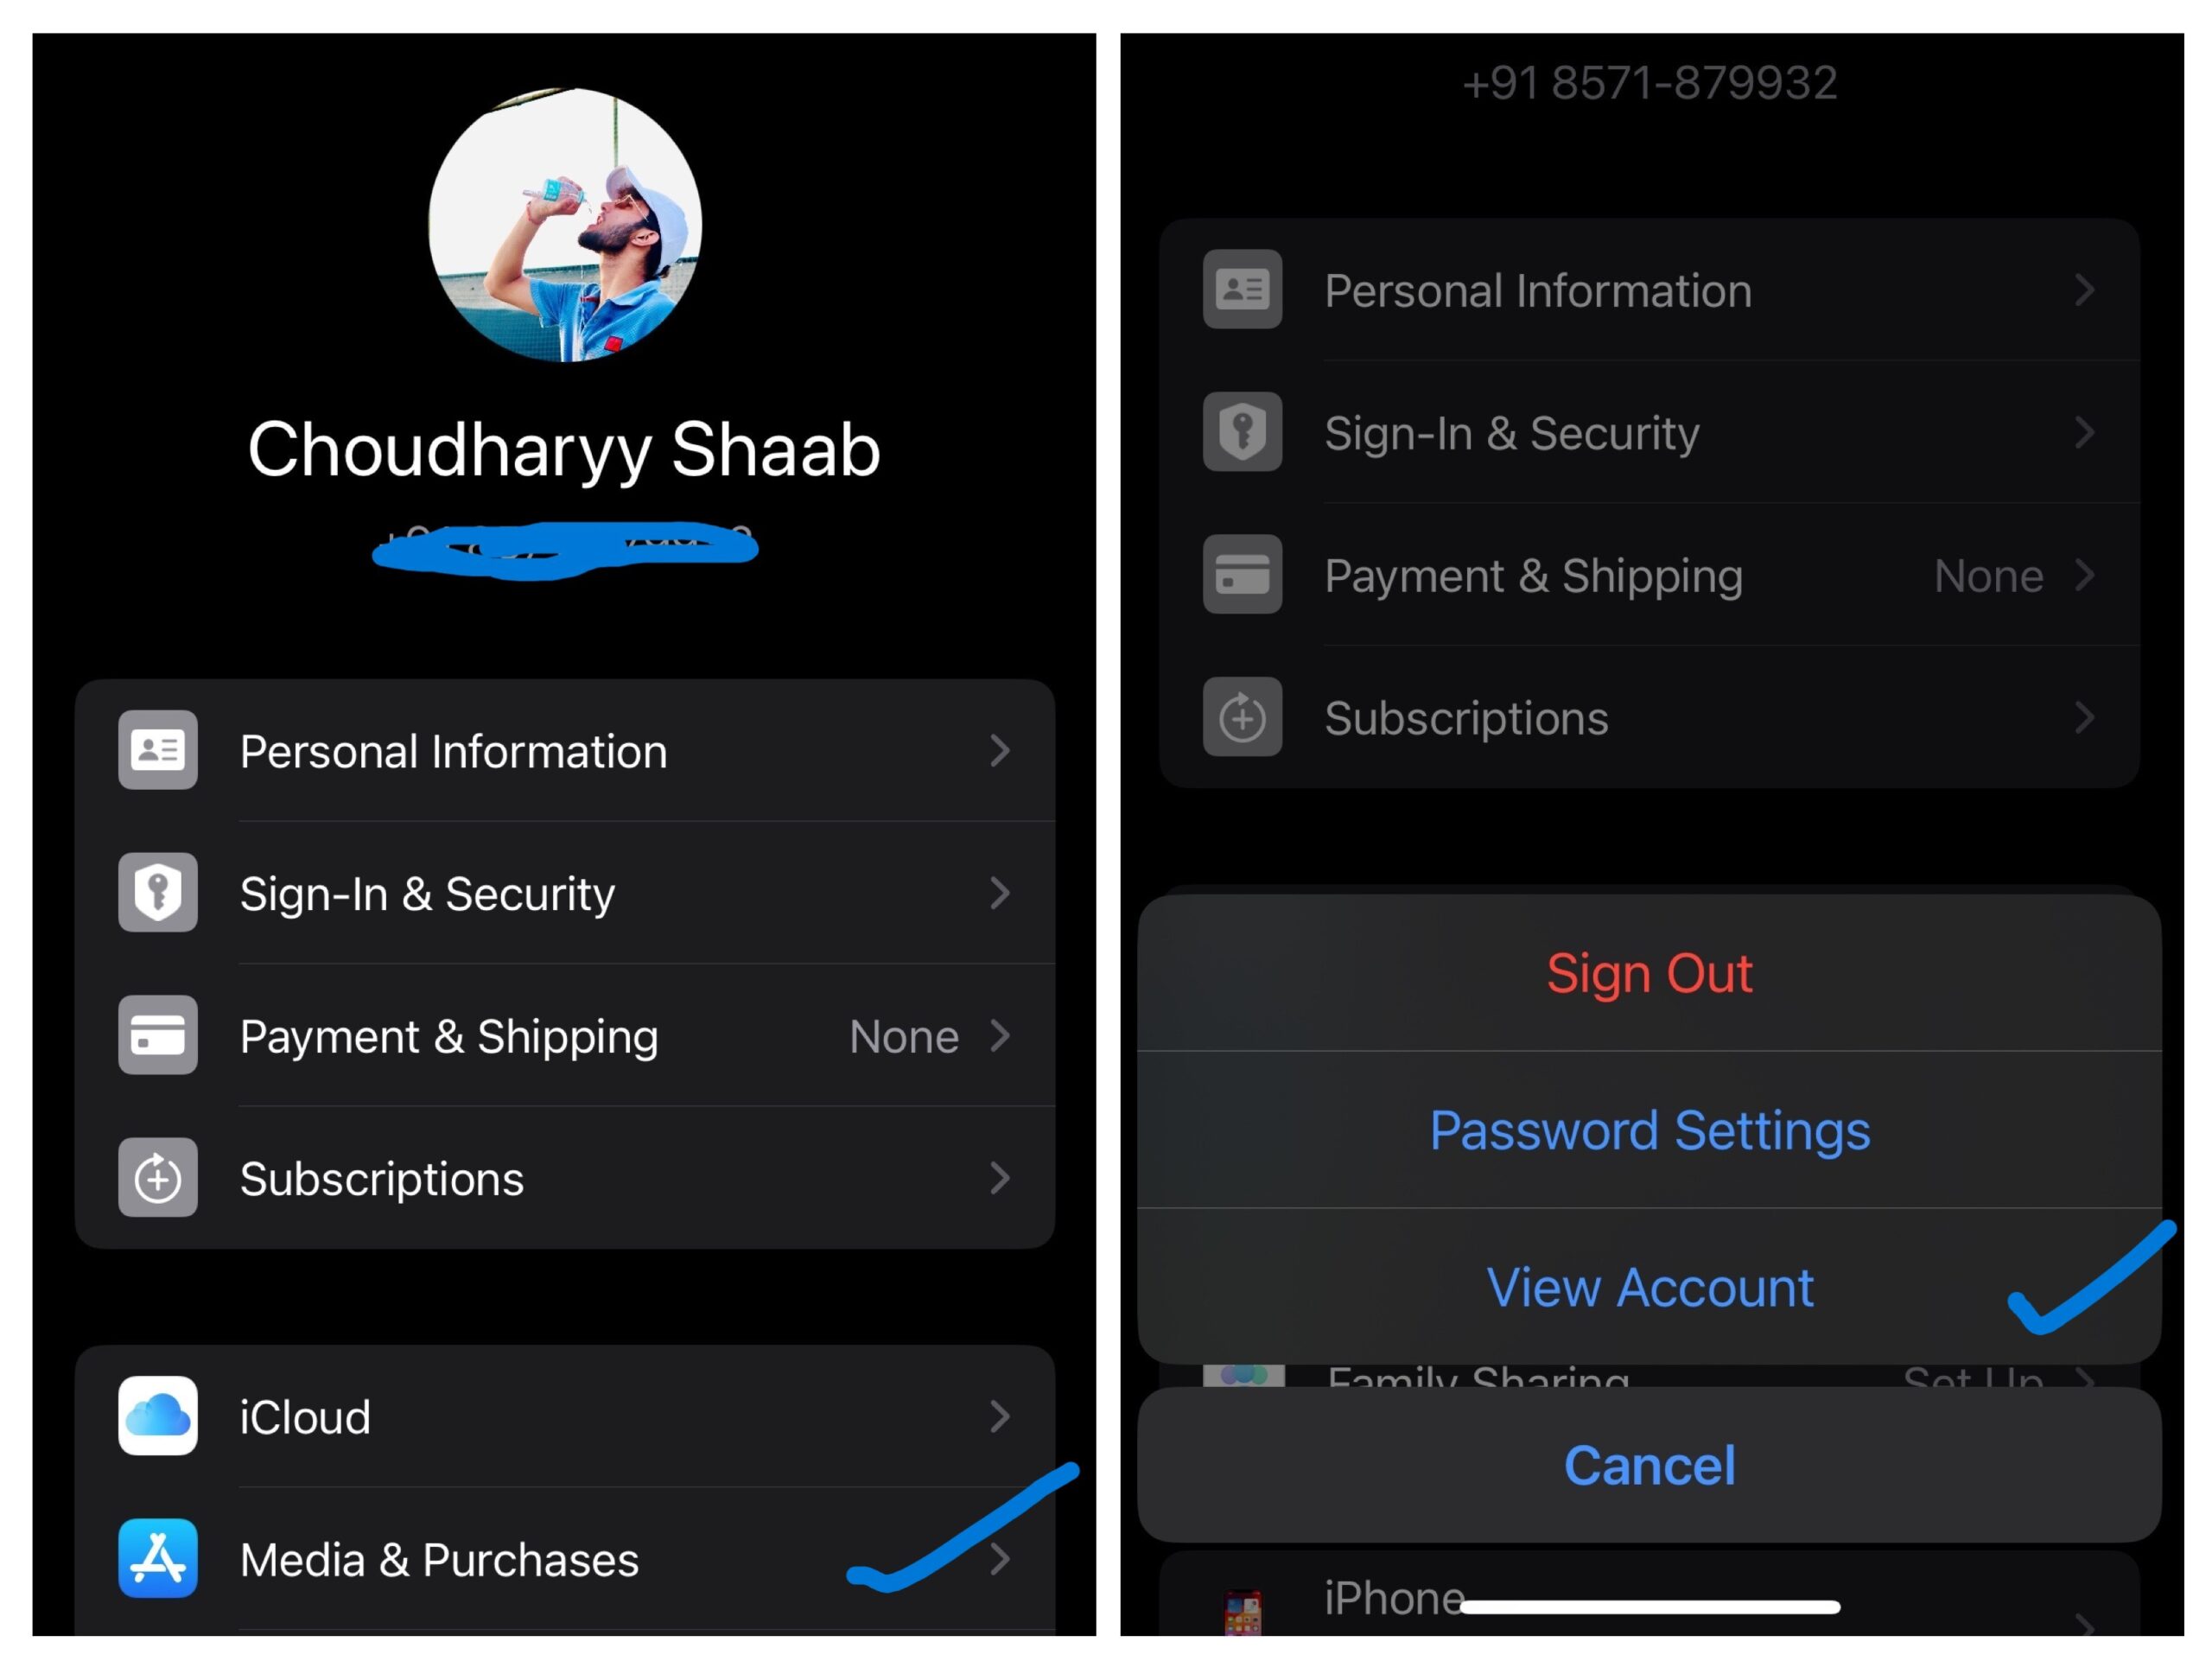
Once you’re in the Settings app, scroll down and look for the section with your Apple ID information. This is typically at the top of the Settings menu. Tap on your Apple ID to proceed.
3. Media & Purchase:
Within the Apple ID section, you will find various options related to your account. Look for “media & purchase” and tap on it. This section controls your preferences for purchasing and downloading content.
4. View Account:
Under the media & purchase settings, tap on your Apple ID once again. A pop-up or a new page will appear, asking you to authenticate your identity. Enter your password or use Touch ID/Face ID, depending on your device’s capabilities.
5. Account Information:
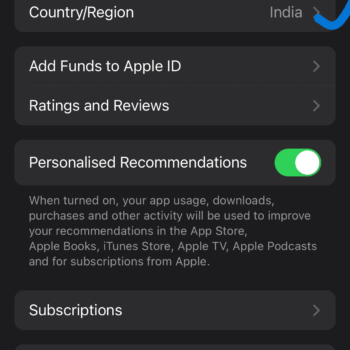
After successful authentication, you will access your Apple ID account information. You’ll find details like your name, email, and payment information here. Look for the option “Country/Region” and tap on it.
6. Choose New Country/Region:
In the Country/Region settings, you will see your current country listed. Tap on it, and a list of available countries will appear. Scroll through the list to find and select the new country or region you want to set. Confirm your selection when prompted.
7. Billing Information:
Changing your country may require updating your billing information to comply with the new region’s requirements. Follow the on-screen instructions to review and modify your payment details if needed.
8. Address Verification:
As part of the process, you may be asked to provide or verify your address. This is essential for accurate billing and ensuring that your account aligns with the regulations of the selected country. Enter the required information accurately.
9. App Store and Media in New Region:
Once you’ve successfully changed your country and updated your information, the App Store and media on your iPhone will now reflect the offerings available in the new region. You may notice differences in available apps, services, and content based on the country you’ve selected.
10. Verify Changes:
To ensure that the changes have taken effect, go back to the main Settings page and double-check your Apple ID information. Confirm that the new country or region is now listed. This verification step ensures that your preferences are updated correctly.
11. Considerations and Caveats:
It’s important to note that changing your country may impact certain aspects of your digital experience. Some apps or services may no longer be available, and your access to specific content could be affected. Additionally, any remaining balances or subscriptions tied to your Apple ID should be addressed before making this change.
12. Final Confirmation:
Once you’ve reviewed and confirmed all changes, exit the Settings app. Your iPhone is now configured with the new country or region settings.
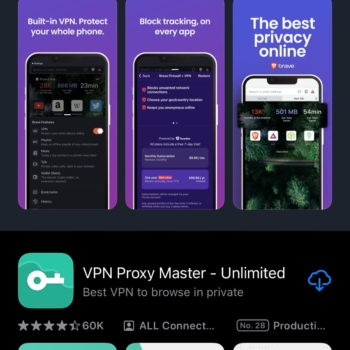
Change Your iPhone Location With a VPN
Did you know that if you are using a VPN, you may change the location of your iPhone with only one click? Not only will it shield you from internet dangers, but it will also let you update your location.
Steps:
Get a VPN application from the App Store. Register and log in to your account. Some VPNs are free to use and those that provide free trials, albeit you might need to pay for a membership beforehand.
- When the app requests permission to build VPN settings, tap “Allow.”
- Choose the nation you wish to shift your location to within the VPN software. To alter your Netflix area, for instance, select the nation in which you wish to view the Netflix catalog.
- To establish your VPN connection and modify your location, click “Connect.”
Understanding the Implications
Before proceeding, be aware that changing your country may affect your access to apps, services, and the availability of certain features. Ensure you are familiar with any potential consequences, such as changes in pricing, language, or regional restrictions.
Apple ID Region Change
- Open the “Settings” app on your iPhone.
- At the top of the screen, tap on your Apple ID
- Select “Media & Purchase.”
Sign Out of Your Apple ID
- Tap on your Apple ID.
- Choose “Sign Out” and confirm your decision.
Choose a New Region
- Scroll down and tap on “View Apple ID.”
- Select “Country/Region.”
- Tap “Change Country or Region.”
- Choose your new country from the list.
- Review and accept the terms and conditions.
Update Billing Information
- Input your payment details for the newly selected area.
- You may choose “None” for payment if your selected country supports it.
Update Address Information
- Enter a valid address within the selected country.
- Save your changes.
Verification
- Apple may ask you to verify your changes via email or SMS.
- Follow the provided instructions to complete the verification.
Access the App Store
- Open the App Store.
- You should now see content available in the new country.
Additional Considerations
- Redownload Apps
Some apps may not be available in the new country. You may need to redownload them from the App Store.
- Content Availability
Check if your favorite apps, movies, and music are available in the new region.
- iTunes Match and Apple Music
Changes in the region may affect your access to music and associated features. Be aware of any differences.
Also, Read This:- 6 Efficient Methods on How to Lock Apps on iPhone
Conclusion
Modifying the country or region on your iPhone involves navigating through the Settings app, accessing your Apple ID details, and making adjustments in the iTunes & App Store settings. Following the outlined steps, you can seamlessly switch to a new country, ensuring that your device reflects the local content and services relevant to your preferences.
Remember the potential implications of this change, such as differences in available apps and the need to update billing and address information. Always verify the modifications to ensure a successful transition.